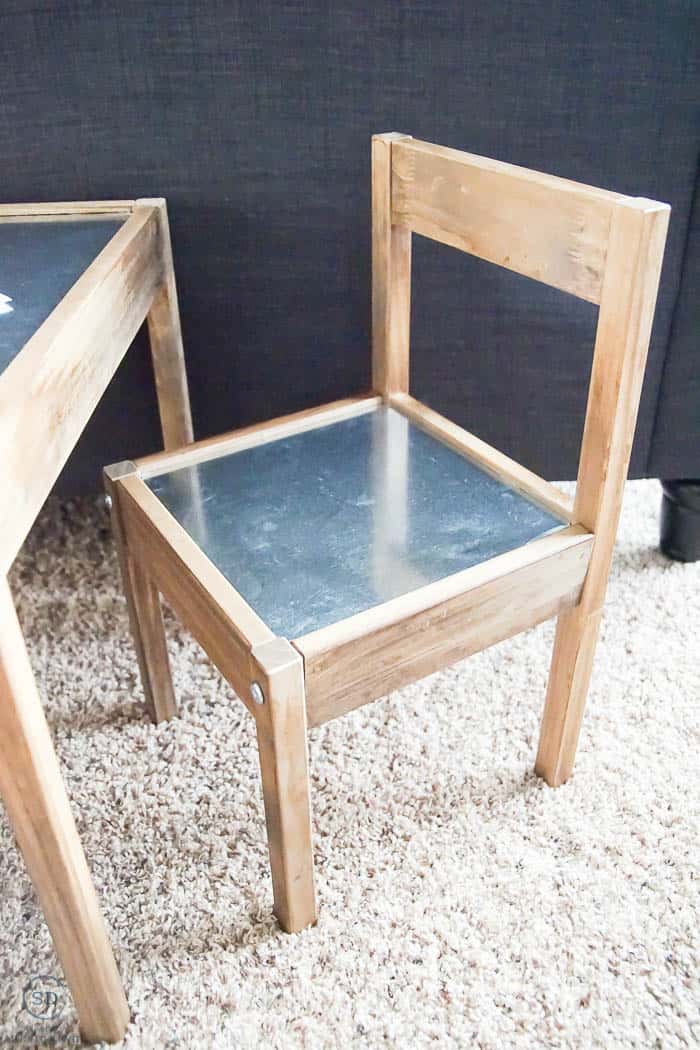
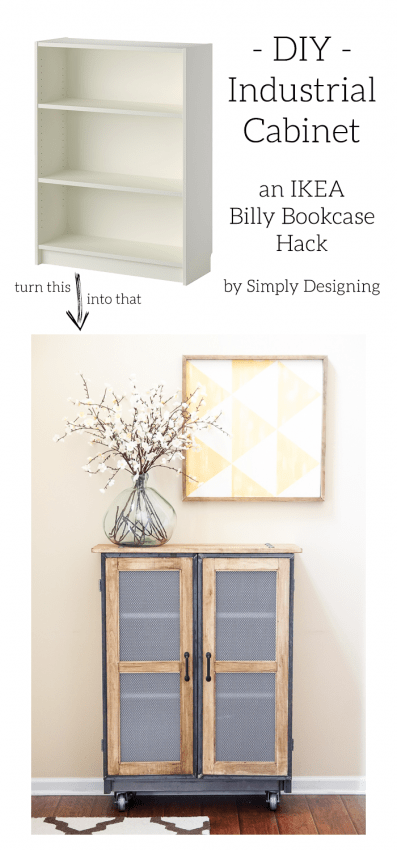
There are not many things I love more than a good IKEA Hack and so today I am super excited to share how we took a plain LATT kids table and chairs and turned it into a beautiful Industrial Kids Table and Chair set! I think that prior to this kids table hack, my DIY Industrial Cabinet Hack was probably my favorite IKEA Hack, but now I can't decide (check the cabinet hack out HERE). With a little time and effort, I was able to transform a pretty plain piece into something that has gobs of style. Keep reading to see how we did this!
IKEA Hack : Industrial Kids Table
A big thank you to HomeRight for sponsoring this post about my IKEA Hack, Industrial Kids Table. All ideas and opinions are mine. This post contains affiliate links and purchasing anything through the links in this post gives me a tiny commission, however, you never pay a penny more. Thanks so much for supporting my blog. You can read most about this IKEA Hack Industrial Kids Table on the HomeRight blog HERE.
I have been doing the "mom" thing for 12 years now. Which means for 12 years I have had some variation of kids furniture and toys scattered all over my house.
I don't mind. I love my kids.
But the brightly-colored kids' furniture in the common living spaces simply doesn't match my decor and as I get older, I desire more of a cohesive look.
Is that a bit snobby of me? Maybe. I don't know...
Either way, I believe I am not the only person who would like kids' furniture to blend more seamlessly into their decor. And I believe that furniture manufacturers are getting better about this in many regards.
But my style is a bit farmhouse and a bit industrial mixed with some classics and even some more modern pieces. I am eclectic but in a less bohemian way then one typically thinks when they hear the term "eclectic."
Which means that even though there are much better options for kids furniture out now then there were 12 years ago when I started this mom-ing gig, there just isn't a lot that really works with my style.
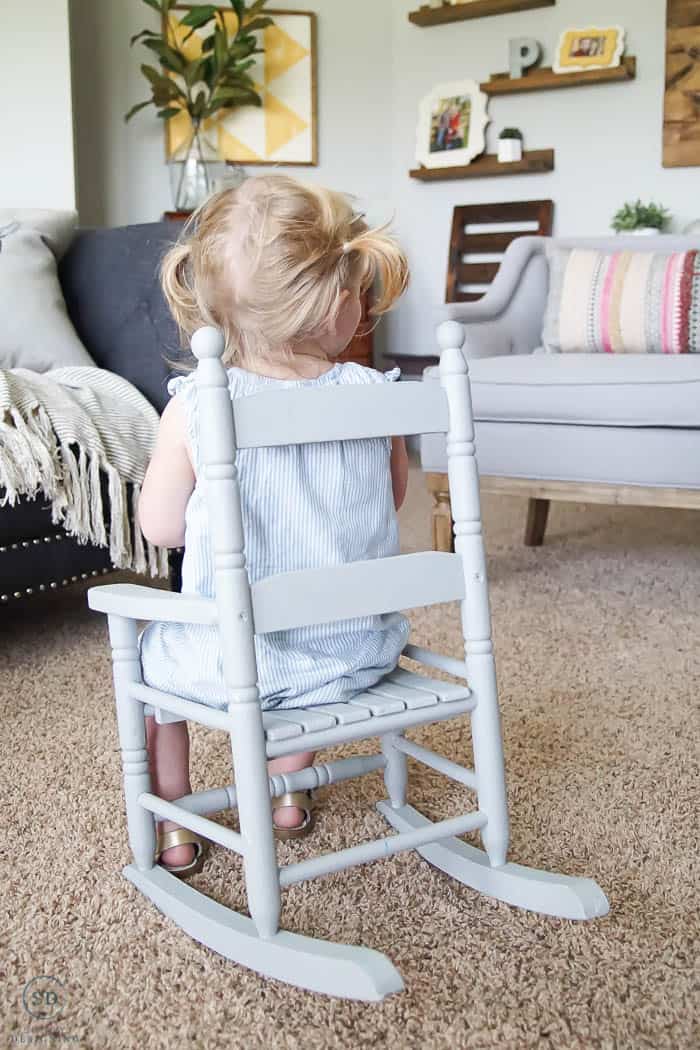
A couple of months ago I decided to spray paint a rocking chair for my little one so she could have her own special seat in the family room. My desire for kids furniture that matched mine means I am often painting or making-over something, and this month, it is a kids table and chairs.
So are you ready for this amazing IKEA Hack?
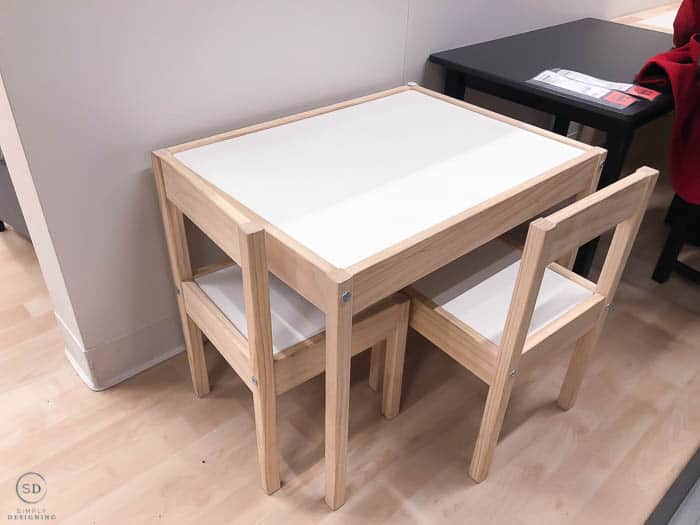
Ok. I snagged this LATT table from IKEA. It was $29 for the table and two chairs I believe. This is what it looked like in the store:
And then I took it home and got to work with my IKEA Hack.
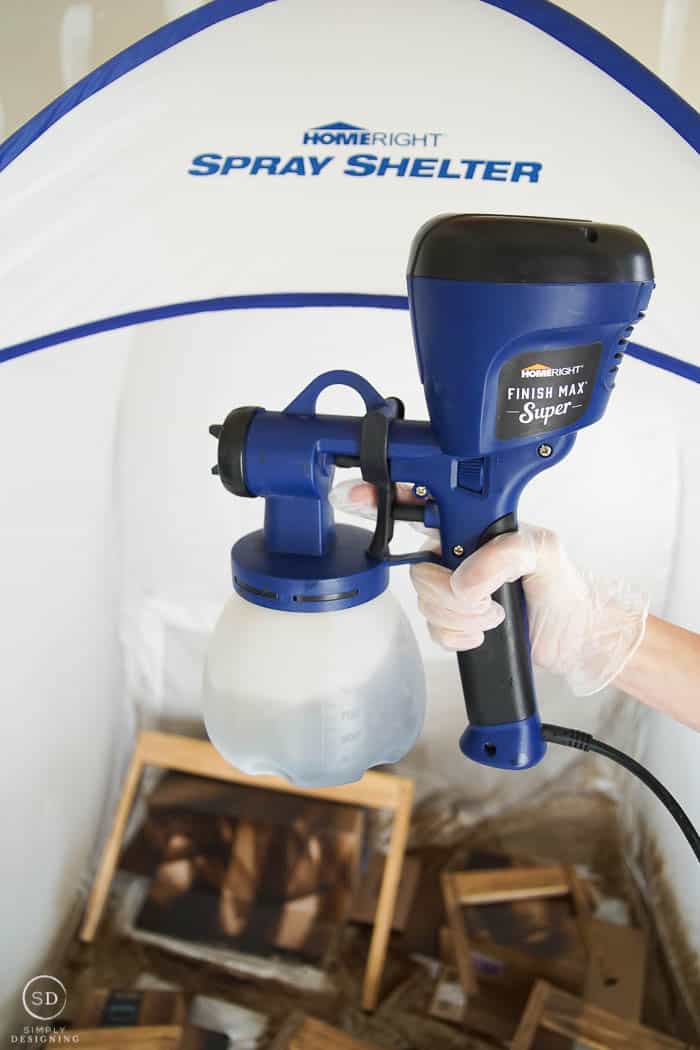
I began by setting up my HomeRight Medium Spray Shelter in my garage. It was too windy outside to work and I love that I can set my spray shelter up inside my garage and it keeps all the overspray contained. Plus it is super easy to set up, it literally just pops open! Love this thing.
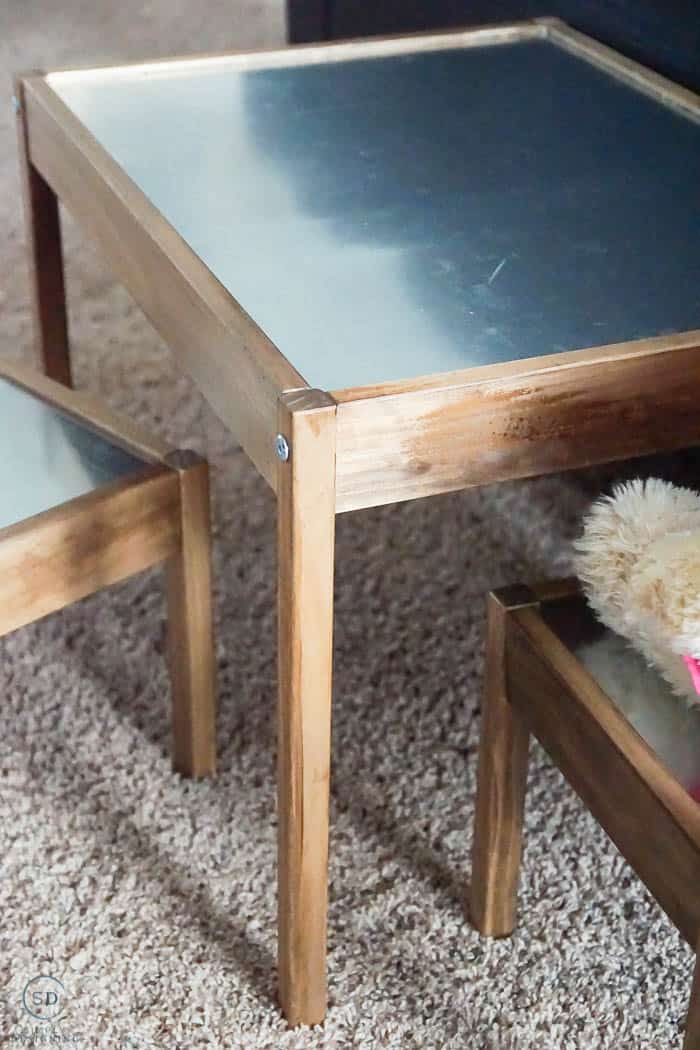
Then I grabbed my stain (I used Cabot's Aged Leather stain) and poured it into my Super FinishMax. You want to read the back of the stain can to see if you need to dilute this for spraying. Each manufacturer has different recommendations and it is important to follow them.
Next, I put my blue tip on my sprayer (check the instructions to ensure that this is the tip you need to use as well) and then I was almost ready to go!
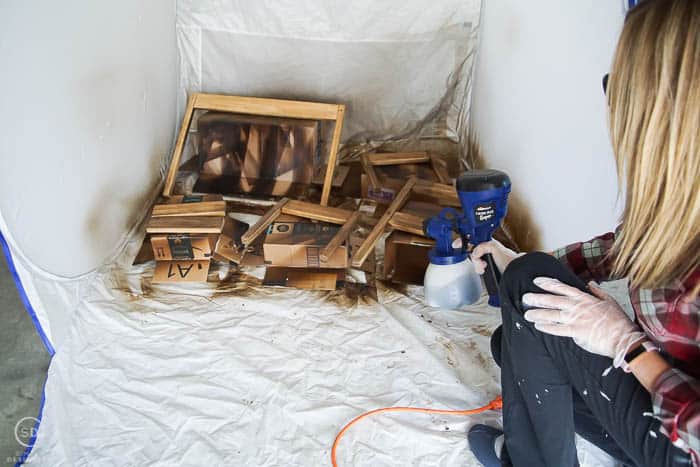
I placed the pieces of my LATT IKEA table in the spray shelter on top of empty boxes, except the top of the table and the tops of the chairs. I also put gloves on because when I don't, I inevitably end up with stain under my fingernails and it looks like I haven't washed my hands in days. Hahaha
Then I sprayed my wood piece with stain, trying to get as light of a coat as possible. After I was done spraying everything on one side, I took a rag and wiped all of my pieces down ensuring that there were no drips or too-heavy areas.
Then I let the pieces all dry completely, and then I sprayed the other side of the table and chair pieces and let them dry completely too.
At this point, you can choose to stick with one coat of stain or add a second coat. It's really up to you.
While these pieces were fully drying, I got to work on my metal top!
You can use very thin sheet metal for this, but I actually went down the HVAC aisle and grabbed a piece of Double Joint Panning. This is thinner than most sheet metal and it was about ⅓ the cost! Woot woot!
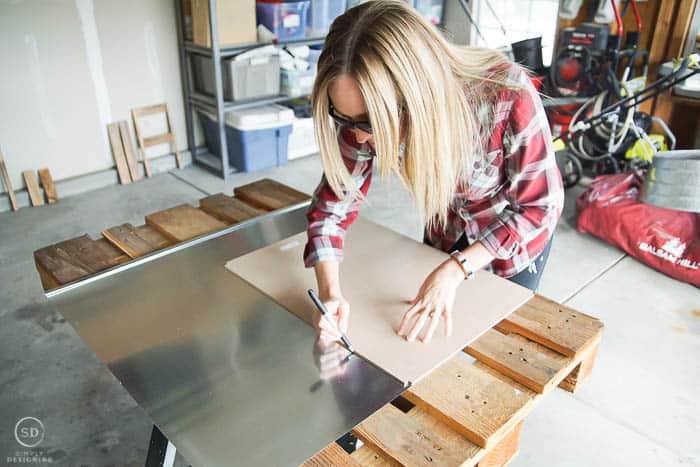
I used a sharpie marker and traced the table tops onto the metal so I could cut them the correct size. It is very important that these pieces are exactly the same as the wood pieces so that they fit together properly.
I enlisted the help of my husband to cut this to size for me.
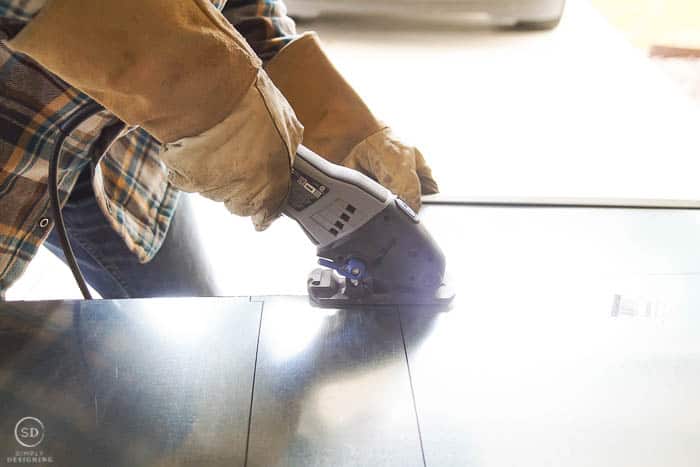
It is important to wear safety gloves (the metal is sharp) as well as eye and ear protection when doing this.
We used a SawMax to cut the metal down to size. It is helpful if one person cuts and another person holds the metal in place.
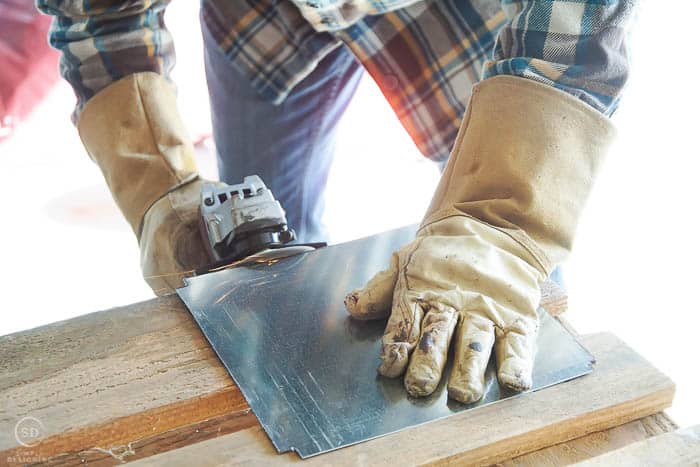
Then we used a metal grinder around the edges to help them not be so sharp. Do be careful though as these may still be sharp afterwards.
At this point, you may be wondering WHY we would put sharp metal on top of a kids table and chairs. Well, the edges of the metal will sit safely inside the wood ensuring that no sharp edges will ever come in contact with my child. But this is one reason it is very important that the metal is exactly the same size as the wood tops.
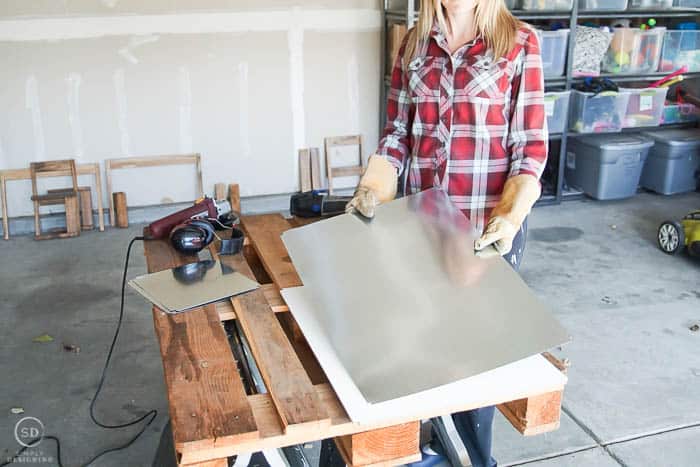
Ater your metal is cut, place it on top of your wood tops and ensure that it is a perfect match! If it isn't, you may need to trim a bit more to get it right.
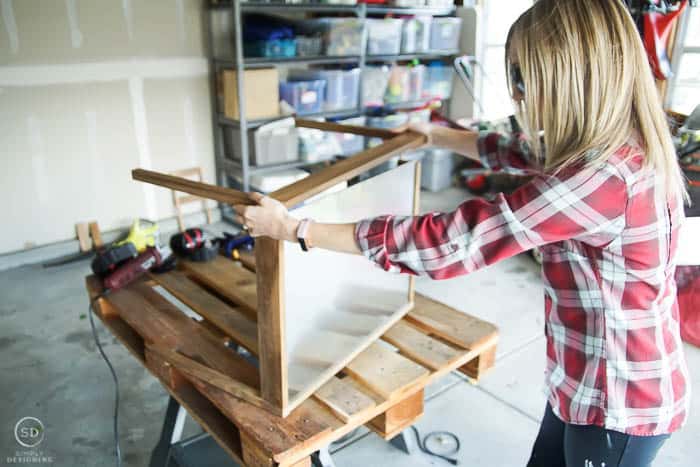
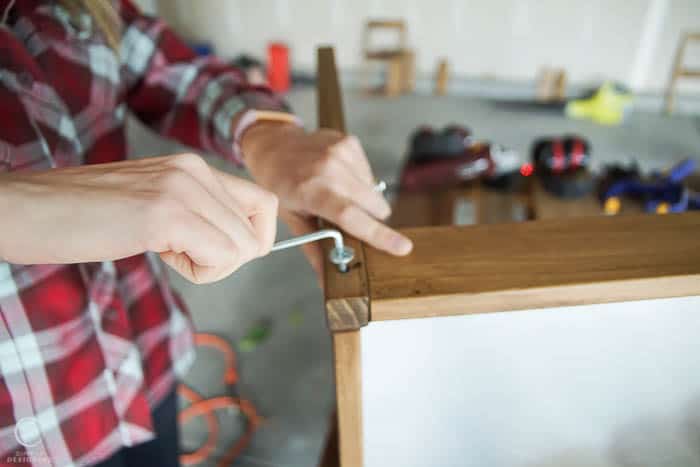
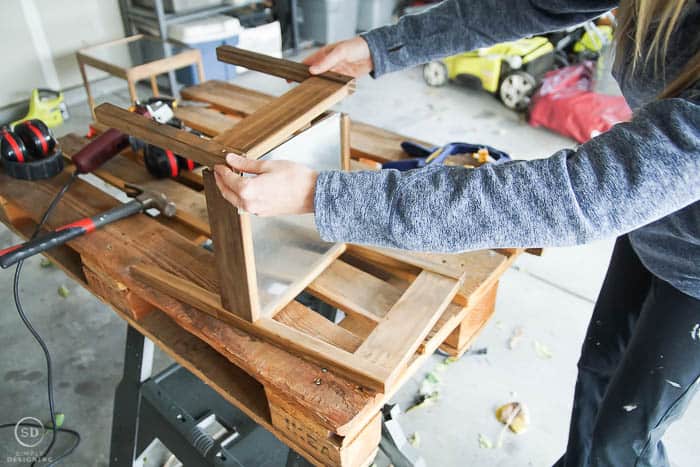
Then you will follow your IKEA LATT directions to assemble the table and chairs. The only difference is that you will place your wood top and metal tops in the grooves instead of just the wood. It should be a nice snug fit.
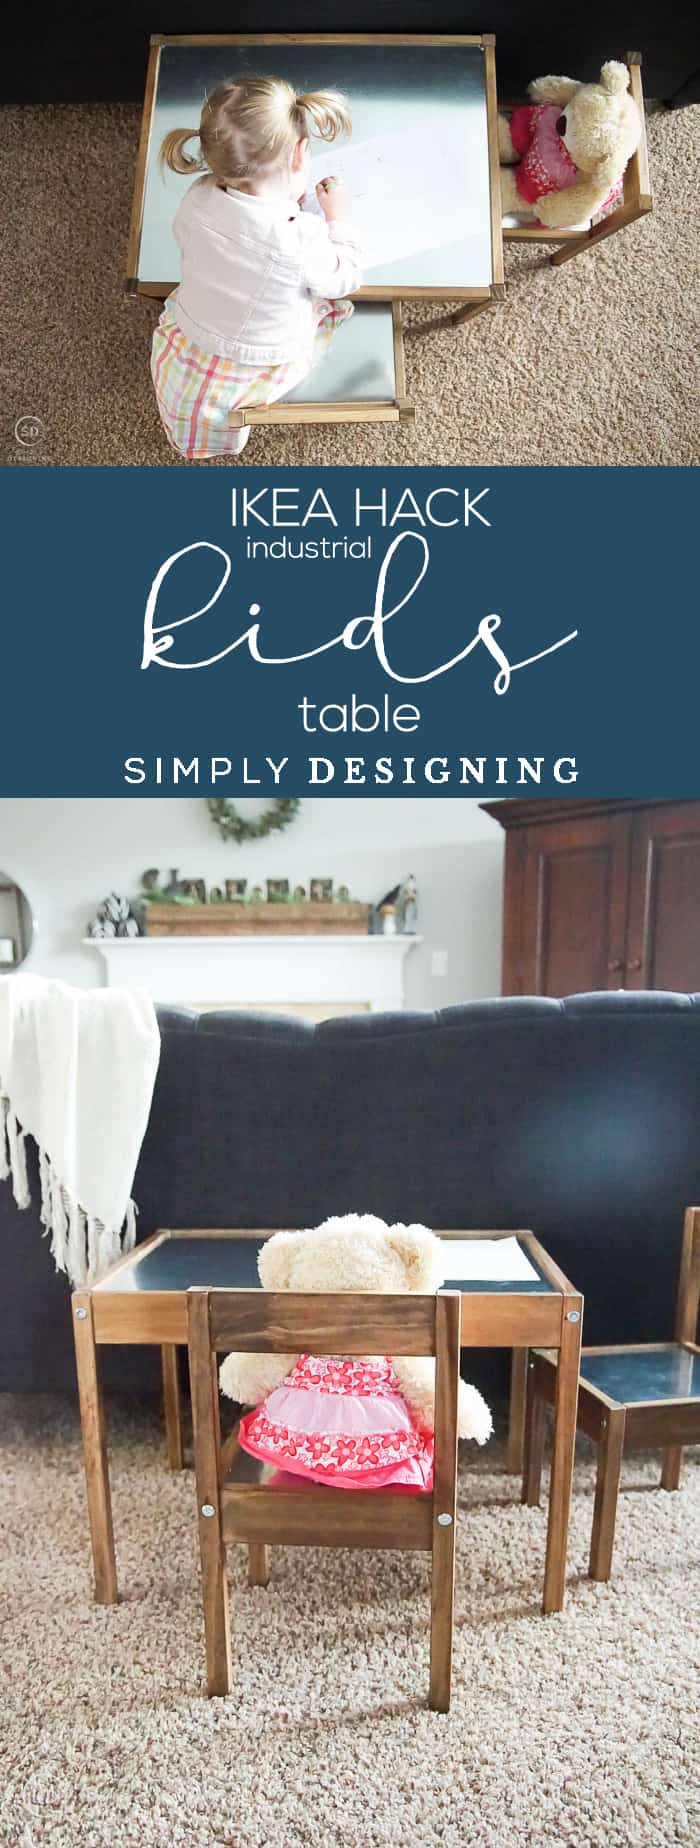
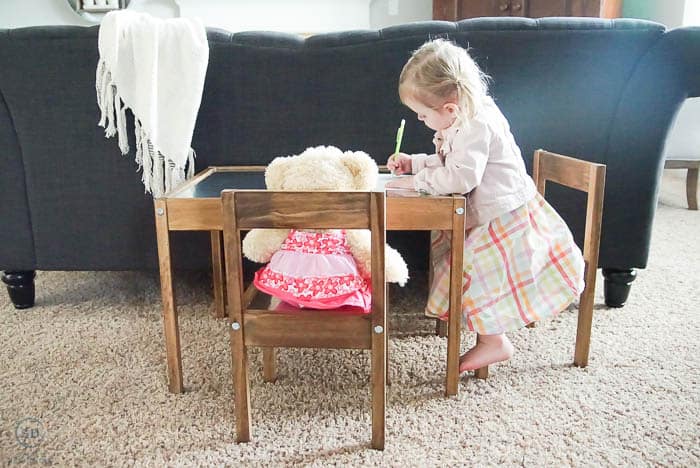
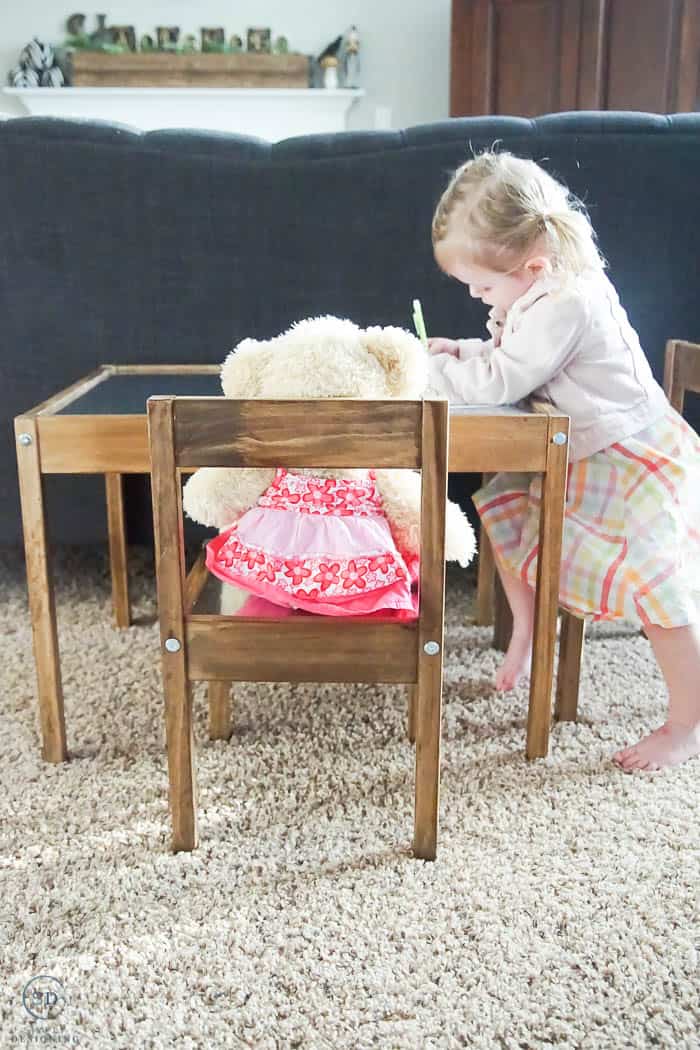
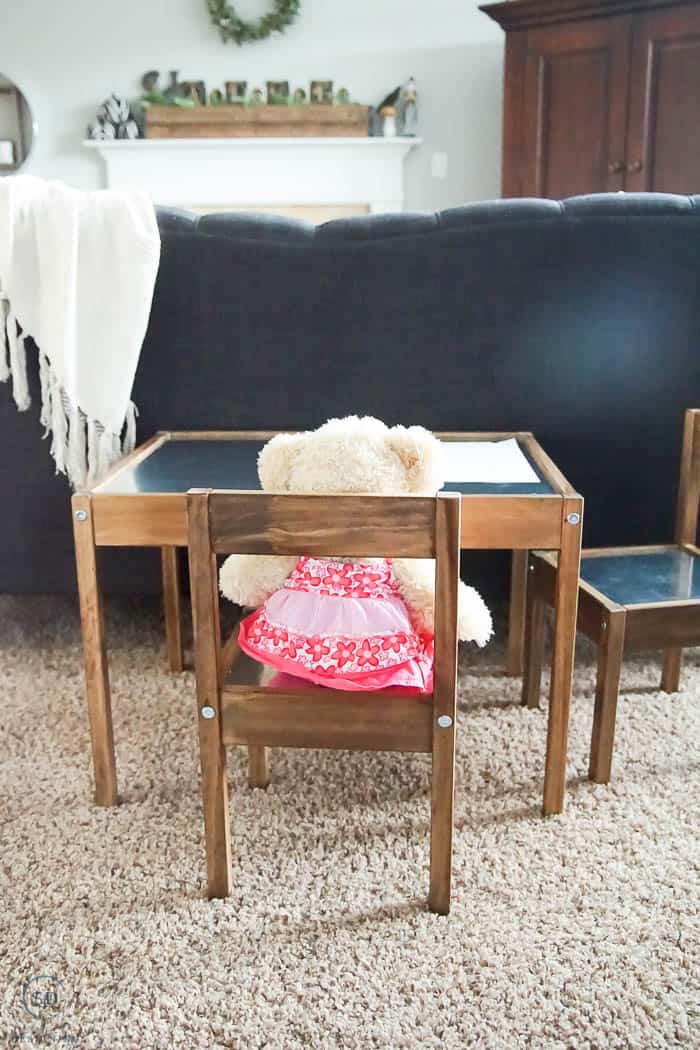
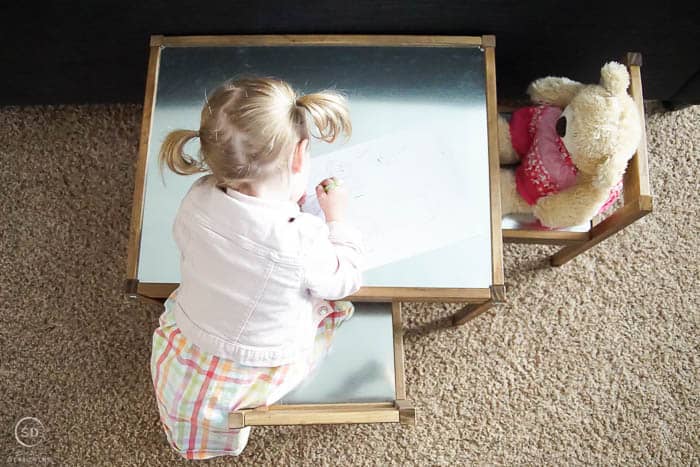
After it is assembled we brought it into the house and my little one (she is 2) immediately got excited and said "My table!!!" Yes sweetie, it is your table!
She grabbed her bear and picnic toys and had a picnic with her bear right away!
Then she sat for a while and colored at her table.
In the few days we have had this, she has played here, eaten here and generally just claimed it as her own!
She loves having a spot that is her own, and I love that it matches my decor style! Woot woot!
Here are all the tools you will need to make a similar IKEA Hack kids table:
- HomeRight Super Finish Max Extra HVLP Paint Sprayer
- Medium Spray Shelter
- Stain (Cabot Aged Leather, or your personal preference)
- Rag
- Dremel SawMax
- LATT Kids Table
- Metal Grinder
- Double Joint Panning or Thin Sheet Metal
- Safety gloves, safety goggles and ear protection
Head to HomeRight's Blog HERE to learn more about how I used the Paint Sprayer and Spray Shelter for this project and read more about my project HERE.
If you like this IKEA Hack, you might also enjoy these posts:




Leave a Reply