• Skip to primary navigation
  • Skip to main content
  • Skip to primary sidebar

Simply Designing with Ashley

  • DIY
  • Oils
  • Recipes
  • Craft
  • Travel
  • Decor
  • Holiday
  • Navigation Menu: Social Icons

    • Email
    • Facebook
    • Instagram
    • Pinterest
    • Twitter
    • YouTube
go to homepage
Homepage link
  • DIY
  • Oils
  • Recipes
  • Craft
  • Travel
  • Decor
  • Holiday
    • Email
    • Facebook
    • Instagram
    • Pinterest
    • Twitter
    • YouTube
  • ×

    Home » Dessert » Ice Cream in a Bag

    Ice Cream in a Bag

    Published: May 14, 2013 · Modified: Jul 26, 2019 by Ashley Phipps · 658 words. · About 4 minutes to read this article. · 7 Comments · This post may contain affiliate links · This blog generates income via ads and sponsored posts · This blog uses cookies · See our privacy policy for more info Filed Under: Family, Recipes

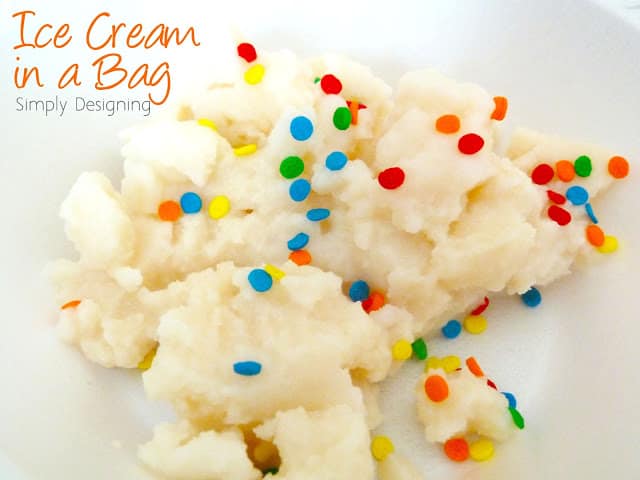
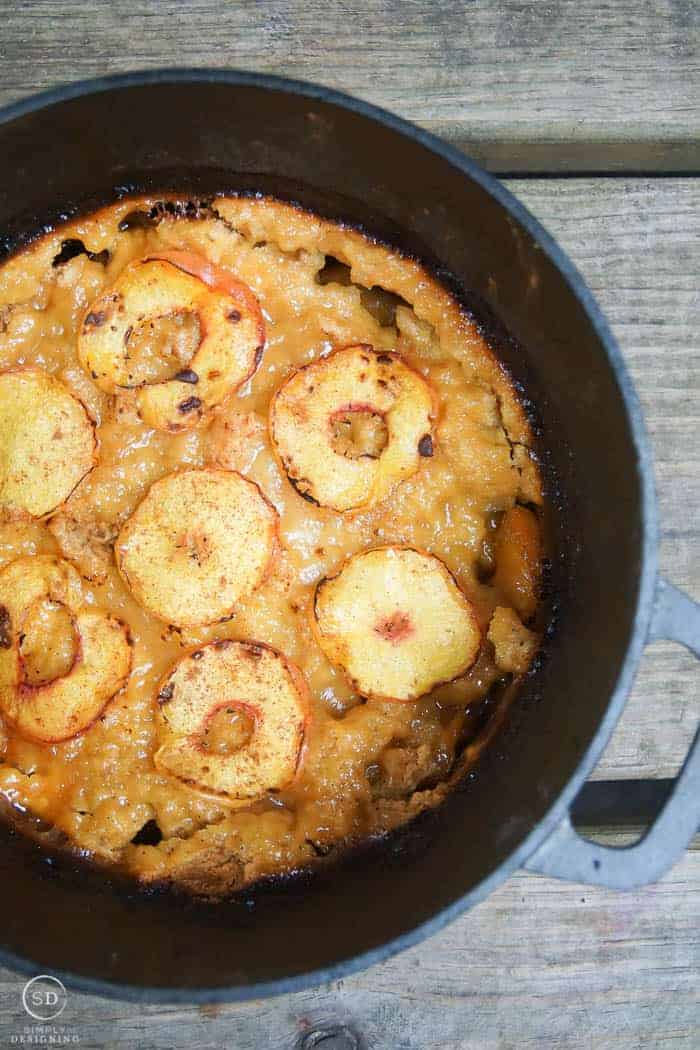
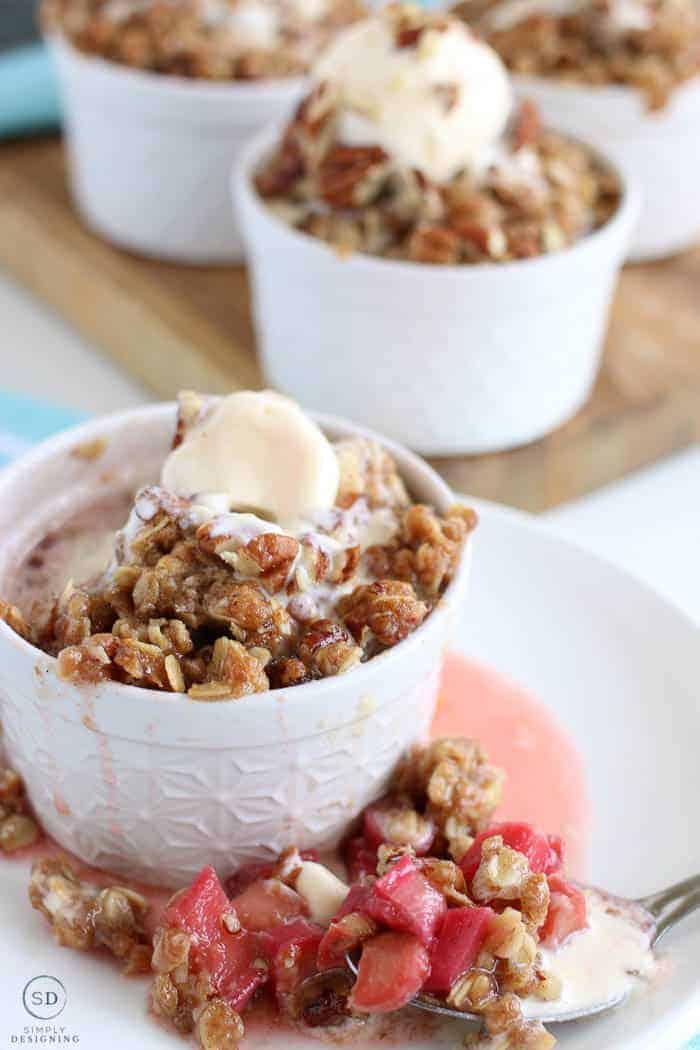
    Today I want to share with you a really fun kid activity and treat that is both fun for the kids to make, tasty to eat and of course, it is simple: Ice Cream in a Bag!  This is a perfect treat and kid activity to do as the weather gets warmer or even over summer break!  This delicious homemade ice cream pair perfectly with my Rhubarb Crisp recipe HERE and with my Peach Cobbler recipe HERE. 

     
    Ice Cream in a Bag

    Ice Cream in a Bag

    I had heard that this was possible to make ice cream in a bag.  But I was always a bit skeptical.  So the other day we decided to try our hands at it!  And we were amazed at the results!

    This.  Actually.  Works!!

    How do you make ice cream in a bag?

    Making ice cream in a bag is actually quite easy!  Although it will take a bit of hands-on time.  You will simply combine milk, sugar and vanilla into a Ziploc bag.  Then place it in a larger back with salt and ice.  I like to actually add a few additional bags in there because salt and ice can easily rip your bags apart.  Then you will simply shake the bag for about 20 minutes until you have ice cream! (Hint: I like to wear gloves when doing this because your hands will get very very cold!) 

    ingredients to make ice cream in a bag
     

    Homemade Ice Cream In a Bag Recipe

    yield: 1 serving
     
    Ingredients:
     
    • ½ cup Milk
    • 1 Tbs Sugar
    • ½ tsp Vanilla
    • ½ cup Rock Salt or Ice Cream Salt
    • Ice
    • 2 sandwich size ziploc baggies
    • 2 gallon size ziploc baggies
    • possibly additional baggies 🙂


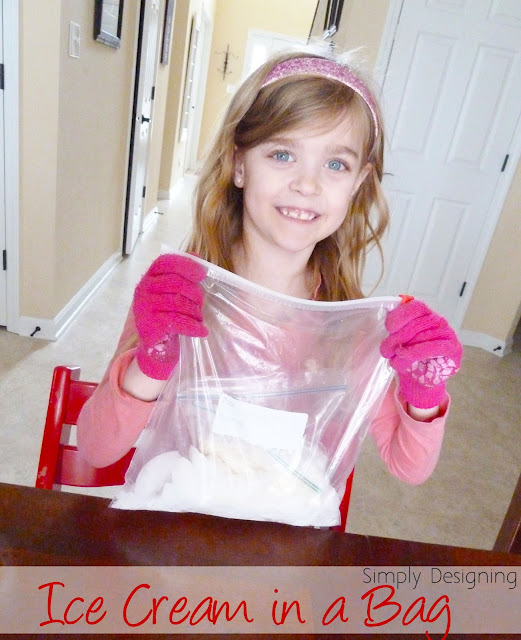
    young girl making ice cream in a bag 

    Directions:

    1. Place milk, sugar and vanilla into a small Ziploc bag.  Squeeze out the air and zip shut.
    2. Place this bag into a second small Ziploc bag and seal.
    3. Place salt and ice into a large ziploc bag.
    4. Place small Ziploc bags into large Ziploc bag and seal.  
    5. Place all of this into the second Ziploc bag and seal tightly.
    6. Let your child put on winter gloves and shake for 15-20 minutes.
    Shake.  Shake.  Shake it some more.  
     
    Set a timer.  
     
    Kids will ask if it is done yet when you have 18 minutes to go...and 17 minutes...and 16 minutes.  It IS hard work to make ice cream! 
     
    So set a timer, turn on the music and turn it into a dance party/ice cream making party!
     
    Now some of you may be asking, why all the bags??  Because ice and rock salt are harsh on plastic bags.  This is to help prevent saltwater from soaking your tables, floor and children.  I may or may not know this from experience 🙂
     
    If your bags still leak feel free to place them into grocery store plastic bags too.


    ice cream in a bag recipe
     

    After 15-20 minutes of shaking you will actually have ice cream!  Real, honest to goodness, yummy, all ingredients approved by mom, ice cream!

    And your kids will be delighted that they made it all by themselves!

     
    eating ziploc bag ice cream 


    Making ice cream in a bag is a really fun experiment to do with your kids.  It is so much fun and tasty too!  It would be the perfect activity to add to your Summer To-Do list!  I know we will be making this again this summer because it was just too much fun not to do again!

    Here is a printable recipe for ice cream in a bag:

    Yield: 1 serving

    Ice Cream in a Bag

    Ice Cream in a Bag

    Making ice cream in a bag is such a fun and simple kids activity with a very delicious end result!

    Prep Time 5 minutes
    Additional Time 20 minutes
    Total Time 25 minutes

    Ingredients

    • ½ cup Milk
    • 1 Tbs Sugar
    • ½ tsp Vanilla
    • ½ cup Rock Salt or Ice Cream Salt
    • Ice
    • 2 sandwich size ziploc baggies
    • 2 gallon size ziploc baggies

    Instructions

    1. Place milk, sugar and vanilla into a small Ziploc bag.  Squeeze out the air and zip shut.
    2. Place this bag into a second small Ziploc bag and seal.
    3. Place salt and ice into a large ziploc bag.
    4. Place small Ziploc bags into large Ziploc bag and seal.  
    5. Place all of this into the second Ziploc bag and seal tightly.
    6. Let your child put on winter gloves and shake for 15-20 minutes.

    Nutrition Information:

    Yield:

    1

    Serving Size:

    1

    Amount Per Serving: Calories: 545Total Fat: 19gSaturated Fat: 11gTrans Fat: 0gUnsaturated Fat: 7gCholesterol: 68mgSodium: 57633mgCarbohydrates: 78gFiber: 3gSugar: 44gProtein: 15g

    Nutrition information isn’t always accurate.

    © Ashley from Simply Designing
    Cuisine: American / Category: Dessert

    You Might Also Like:

    this easy peach cobbler recipe is made in the dutch oven and has fresh grilled peaches on top of it

    Easy Peach Cobbler

    Close up of homemade ice cream sundaes.

    Homemade Vanilla Ice Cream

    Rhubarb crisp

    Rhubarb Crisp

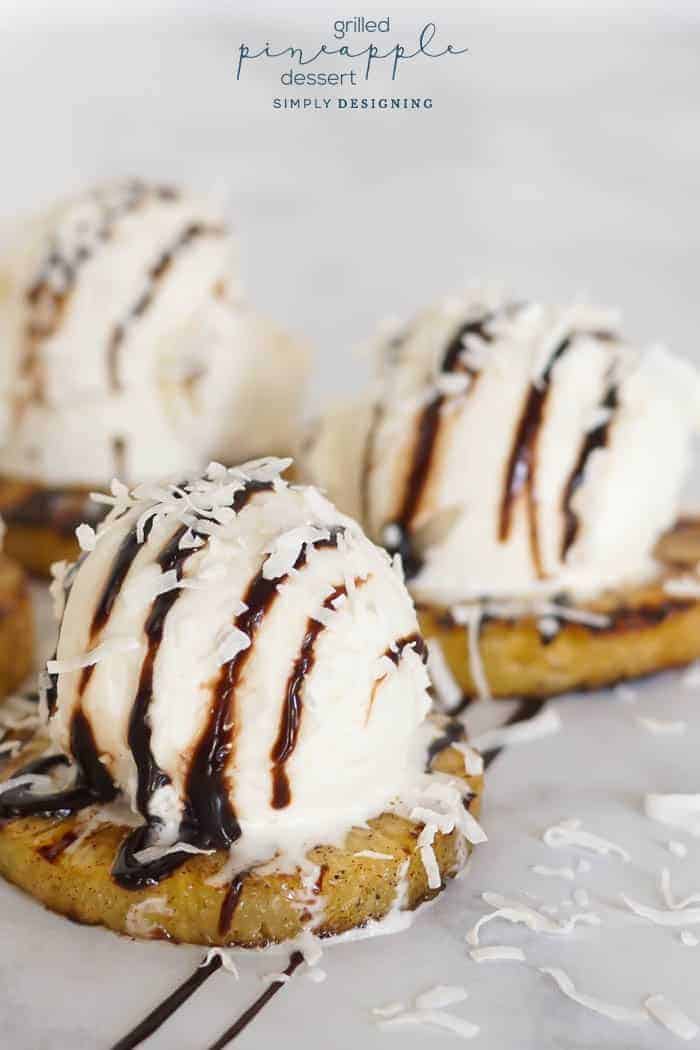
    The Best Grilled Pineapple Recipe plus a Scrumptious Pineapple Dessert Idea

    Grilled Pineapple Dessert

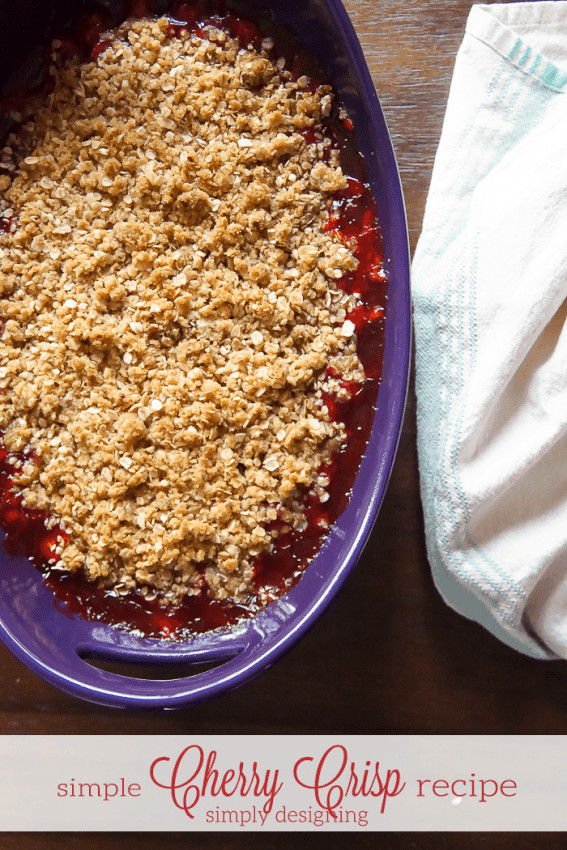
    simple cherry crisp recipe

    Simple Cherry Crisp Recipe

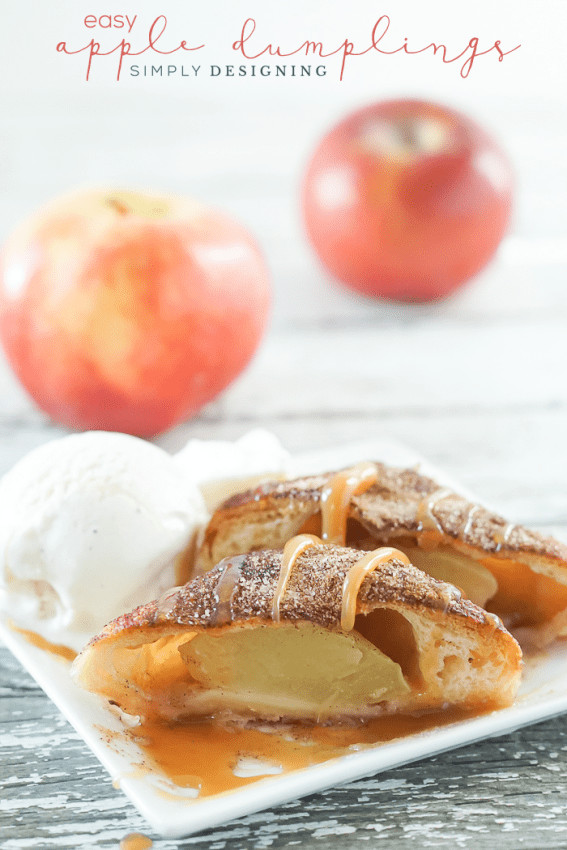
    Easy Caramel Apple Dumpling Recipe - this is such an easy recipe and makes amazing dumplings

    Caramel Apple Dumpling Recipe

    How to Make Butter in a Jar
    How to Make Your Own Squirrel Feeder
    Kids Crafts: Button Art

    I would love for you to follow me on Facebook, Twitter, Google+, Pintrest and via email.
    I participate in the link parties found
    here.

    (I originally shared this post at Becoming Martha!)

     
    Previous Post: « Homemade Mother's Day Gift Ideas {Video}
    Next Post: 10 Amazing Planter Ideas »

    Reader Interactions

    Comments

    1. Artsy Chicks Rule

      May 15, 2013 at 9:54 am

      That looks great! Might have to try that! Thanks for sharing 🙂 <br />Hope you have a great day!!<br />Nancy

      Reply
    2. Lisa

      May 17, 2013 at 8:54 am

      This is one of my favorite memories from being ay camp when I was a kid. We used to make this and I always remember it tasting like the best ice cream ever!

      Reply
    3. Loretta E.

      May 17, 2013 at 1:04 pm

      Cool! I&#39;m sure the kids love it! But with the amount of ice cream I make, I&#39;m really glad I have an ice cream maker 🙂

      Reply
    4. Maria

      May 20, 2013 at 1:42 pm

      Your ice-cream looks great! I&#39;ve seen ice-cream made like this before and wondered if it works! I&#39;ll have to give it a try sometime this summer! Thanks for sharing!

      Reply
    5. Leslie McCain

      May 22, 2013 at 10:34 pm

      Would love to invite you to my link up that goes live at 7am in the morning. We pin all those who join to our party board on pinterest.<br />http://myfashionforwardblog.com/2013/05/23/all-things-pretty-9/

      Reply
    6. Sarah Wells

      May 23, 2013 at 10:58 am

      This ice cream sounds amazing! I definitely want to try out this recipe, thanks for sharing. 🙂 I would love for you to link up this to my blog link party, Sweet Tooth Tuesdays.<br />http://sarahlynnssweets.blogspot.com/2013/05/sweet-tooth-tuesdays-2.html

      Reply
    7. Bobbie Jones

      May 13, 2014 at 8:30 pm

      Heck...I wanna make it LOL. It&#39;s great that you can make it without a ice cream maker or blender. Too cool. Will be pinning it!!<br /><br />You&#39;re more than welcome to come by my linky party anytime!<br /><br />Thanks for sharing!

      Reply

    Leave a Reply Cancel reply

    Your email address will not be published. Required fields are marked *

    Primary Sidebar

    Hello Friends!

    Ashley Phipps Simply Designing I'm Ashley Phipps and I love sharing SIMPLE DIY, home, travel, food, craft and essential oil ideas with you! Learn more about me here. Contact me here. Find Media/PR info here. Privacy is important to us. Please read my Privacy Policy.

    Favorite Posts

    How to make a Tulip Centerpiece for Spring

    How to Make a Tulip Centerpiece for Spring

    Spring Berry Basket - such a simple addition to your spring or Easter table

    Spring Berry Baskets


    COPYRIGHT: You’re welcome to link to Simply Designing or use a single image with a brief description to link back to any post. Republishing posts in their entirety is strictly prohibited.  Any use for commercial purposes is strictly prohibited. Feel free to pin on Pinterest. Find out more in my Privacy Policy.  Simply Designing with Ashley Phipps LLC is a participant in the Amazon Services LLC Associates Program, an affiliate advertising program designed to provide a means for sites to earn advertising fees by advertising and linking to Amazon.com . Simply Designing with Ashley Phipps LLC and it’s owner, employees and affiliates are not liable in any way for injury or loss (whether physical, emotional, monetary or any other kind of loss) resulting from any inspiration, ideas, directions or information gained from this website. We advise you to always follow manufacturer instructions, take appropriate safety precautions and hire a professional when in doubt. We love it when you use our site for inspiration, but by using it, you agree that you do so at your own risk.

    Privacy Policy 

    Copyright © 2021